

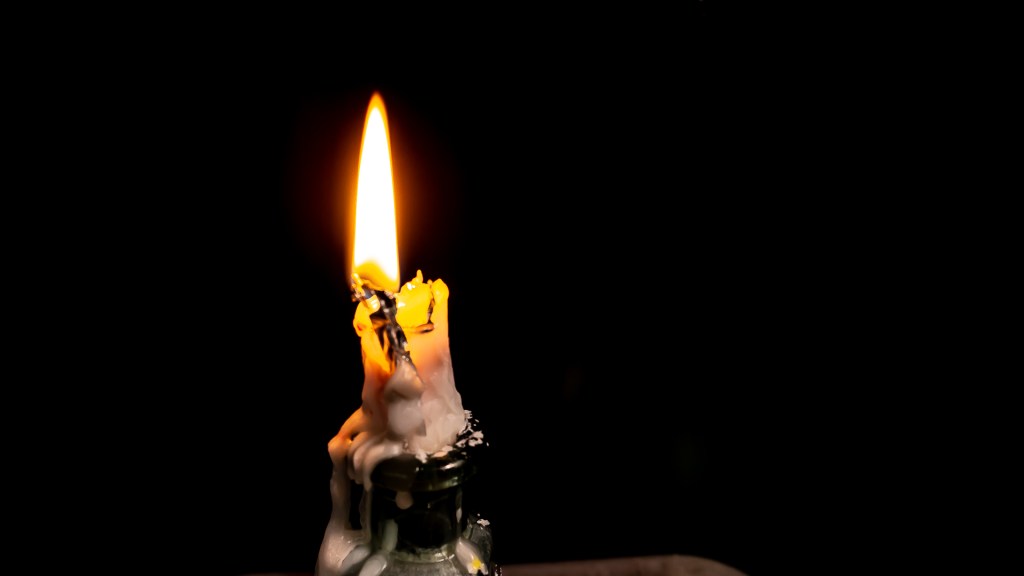
I have completed three time lapses in the six available weeks. I have come across a handful of problems.These include shadow coming and going, blur in pictures and interference of other intervalometers. The ways I have reduced the chance of theses recurring during filming is to ensure I film in fully shaded areas, gaining others opinion on whether its blurry or not and having a large area between intervalometers. I have experimented trying different focuses some of these are ice poles, ice cream and candles. For my first graded project I created a time lapse of a candle that burnt for around 45 minutes which worked out perfectly for the time left of my hour period. I have the focus point on the candle as it burns down. The time-lapse came out to a total of 10 second which was the requirement for the task . I had the frame per second set at thirty per second. I had an end total of 633 pictures with a three second interval. The problem I had occur with in the time lapse was blur appearance of the candle and wasted opportunity . I was rushing to film and forgot to have another student check whether it was focused or not and did not find out that it was blurred till post production. The candle had been made at home and the apprentice was not pleasing to the eye and had many parts of aluminum foil in it. While the candle was burning the was wax melting off the side down the jar it was placed on which would have been a opportunity to take a second time lapse.

I had set ISO to 100, aperture to 10 and shutter speed to 1/4 of a second. The ISO and aperture I am happy with but the shutter speed could have been faster which could have been a factor contributing blur within the time lapse. Overall I am happy with the time lapse and would make small changes for next time.
I have begun a new time-lapse with the hopes to complete a time-lapse of me sewing a pencil case. I have two parts to the time-lapse. Part one being me preparing to sew e.g. cutting the fabric and pinning them together to sew. Part two is me sewing the pencil case together on the sewing machine.
Stay tuned as I post more blogs and videos!
